
Adding Banner/Labels to a Shopper Planogram Stimuli
This article helps users to understand how to add banners and Labels to their Planogram Stimuli as part of Shopper Campaigns.
Banner and Labels in Plangorams - Shopper Insights
Adding Banners and Labels to planograms helps to provide a real shopping experience enabling researchers to study the impact of Product Labels and Price Promotions.
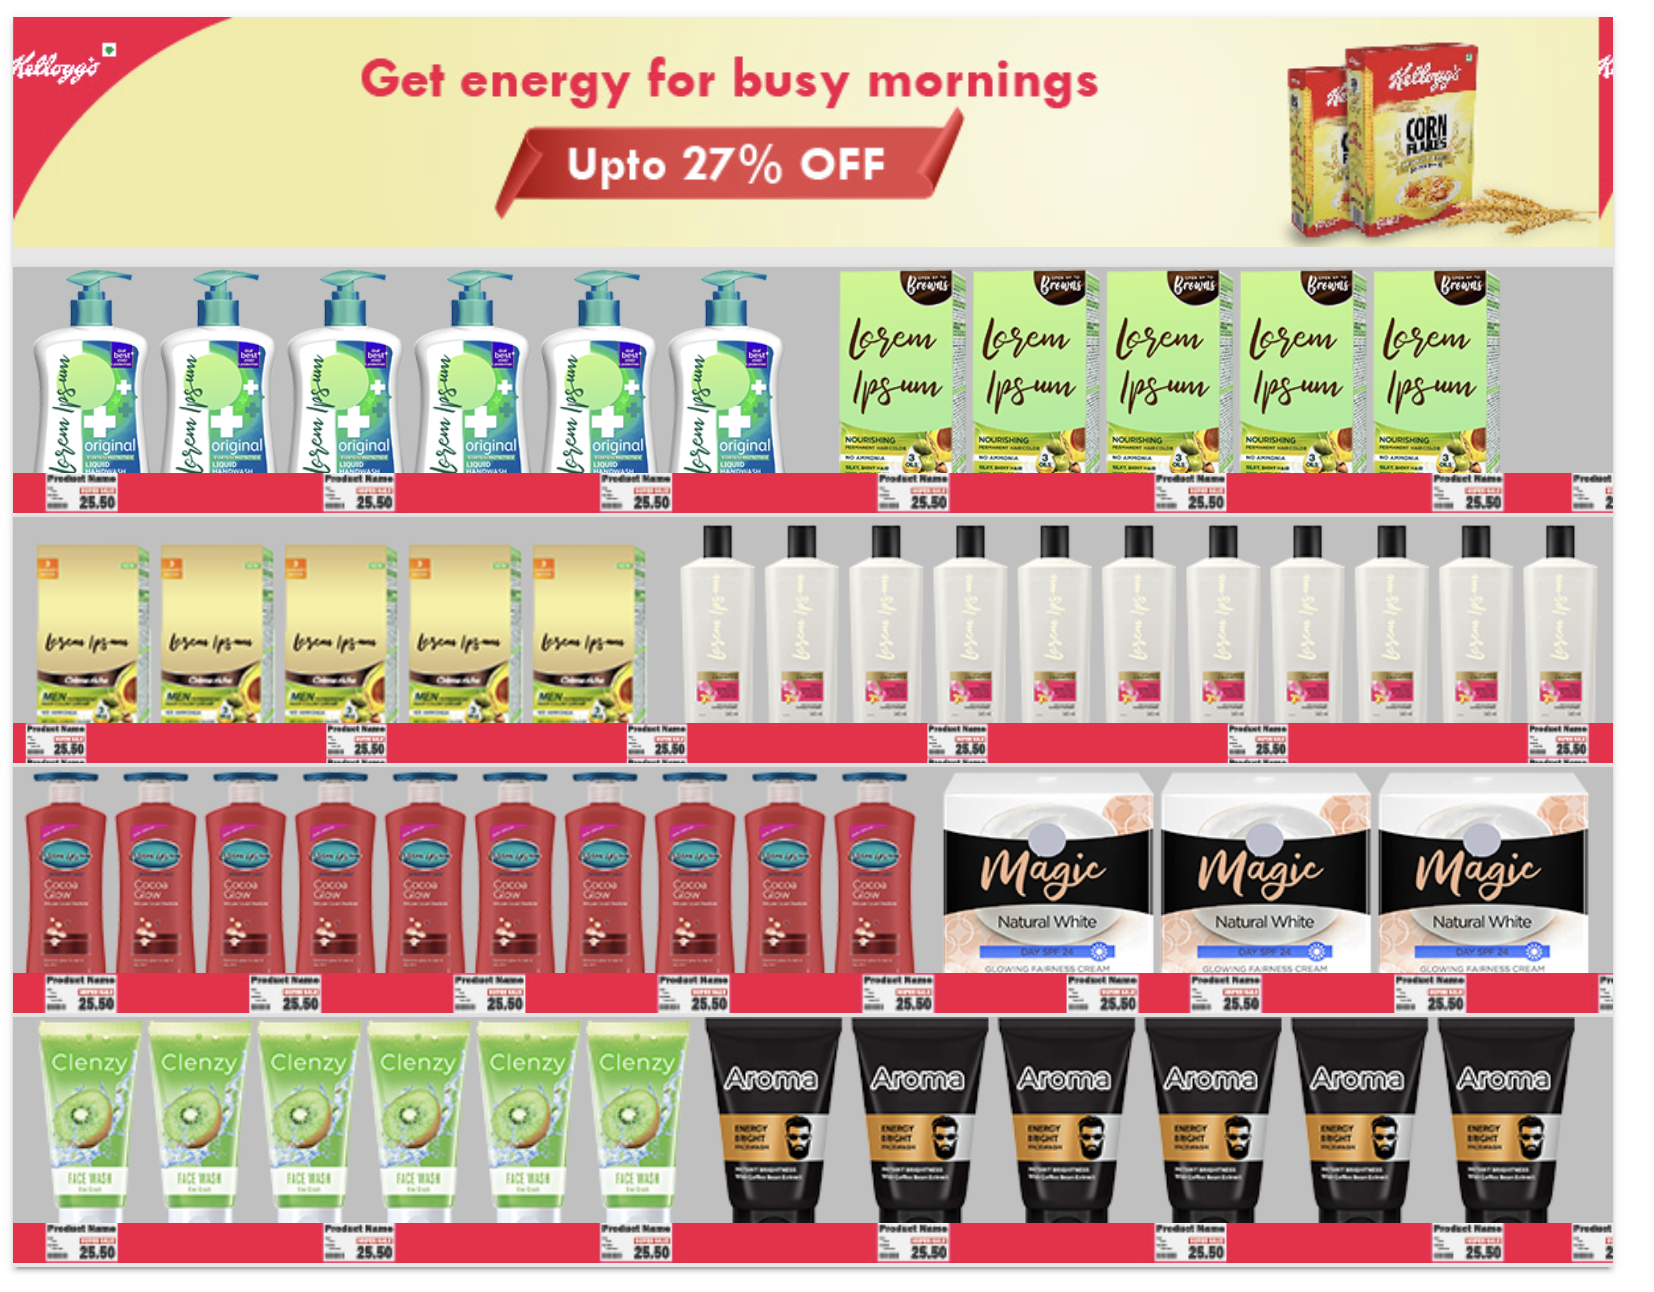
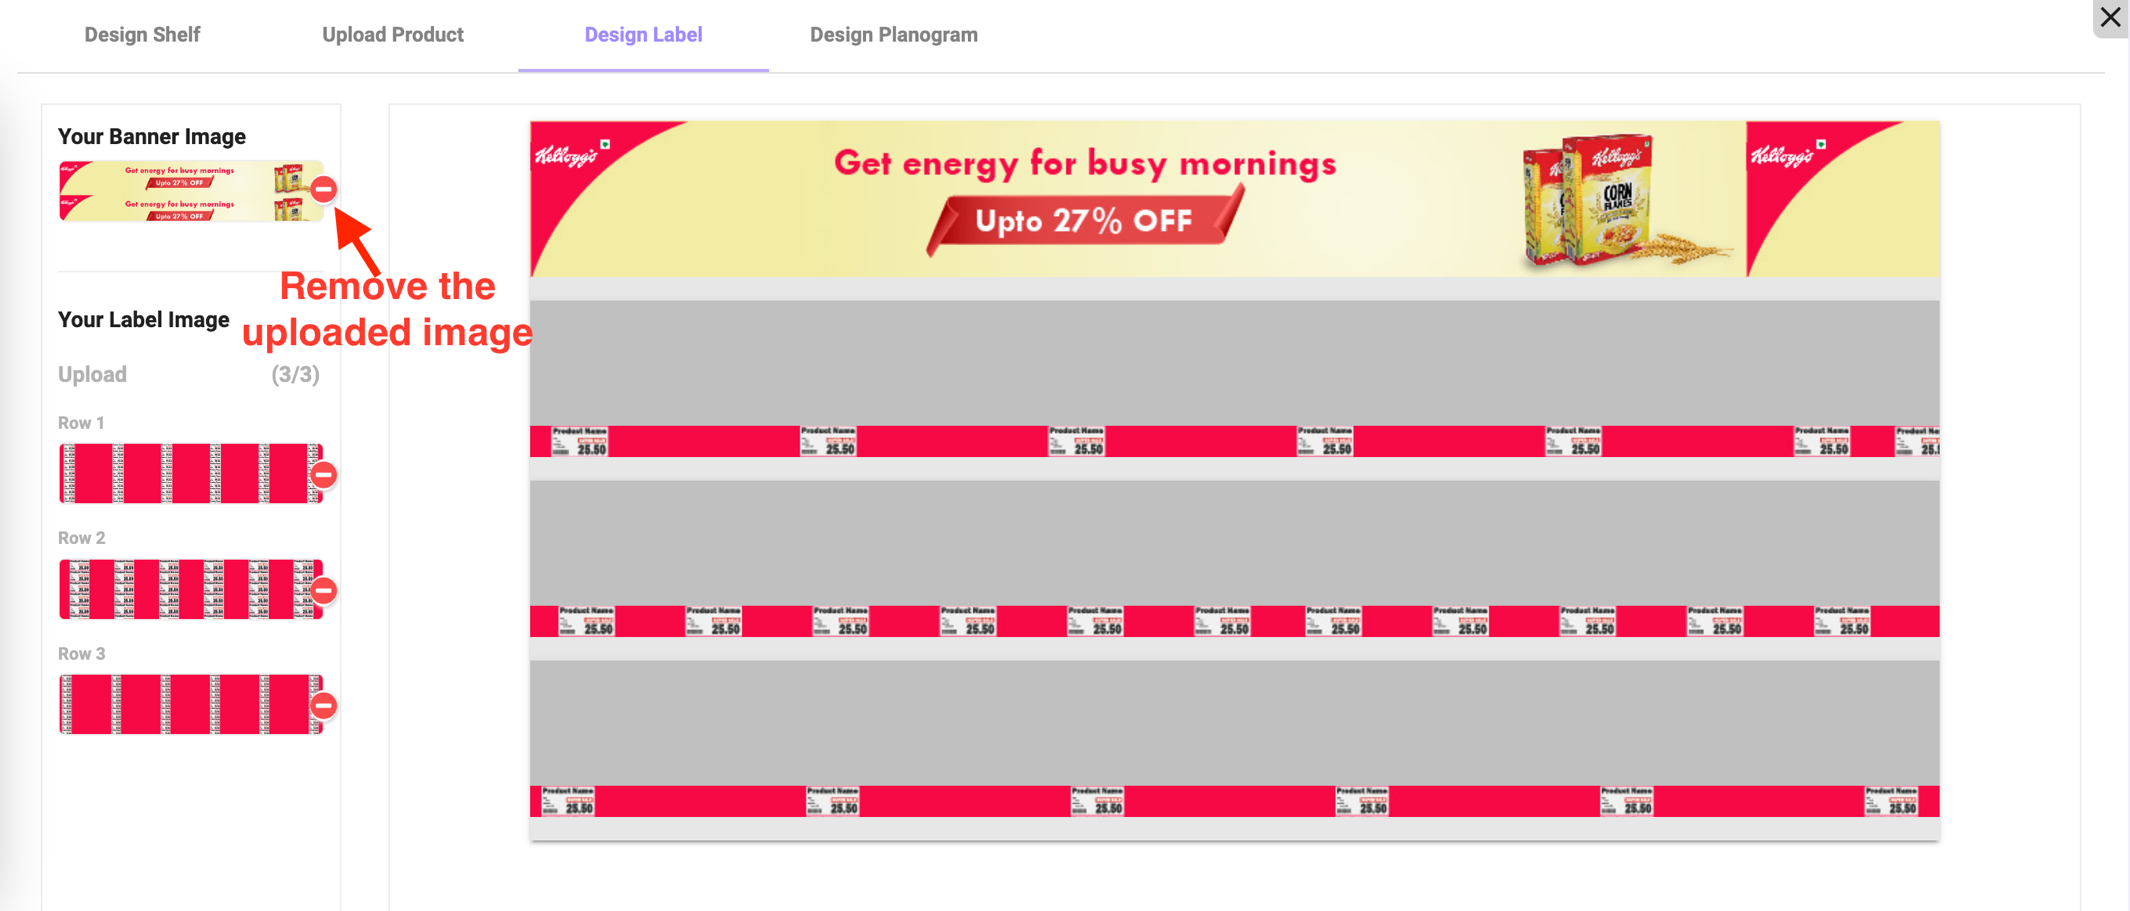
Below is a sample planogram with a Banner on the Top shelf and Labels added to each of the below shelves.
Limit on Individual products works in line with the overall limit on cart limit, and whichever limit gets reached, the respondents are not able to add more on the set limit.
The below steps explain how users can add Banner and Label to their Planogram in AffectLab's Shopper Insights Campaigns.
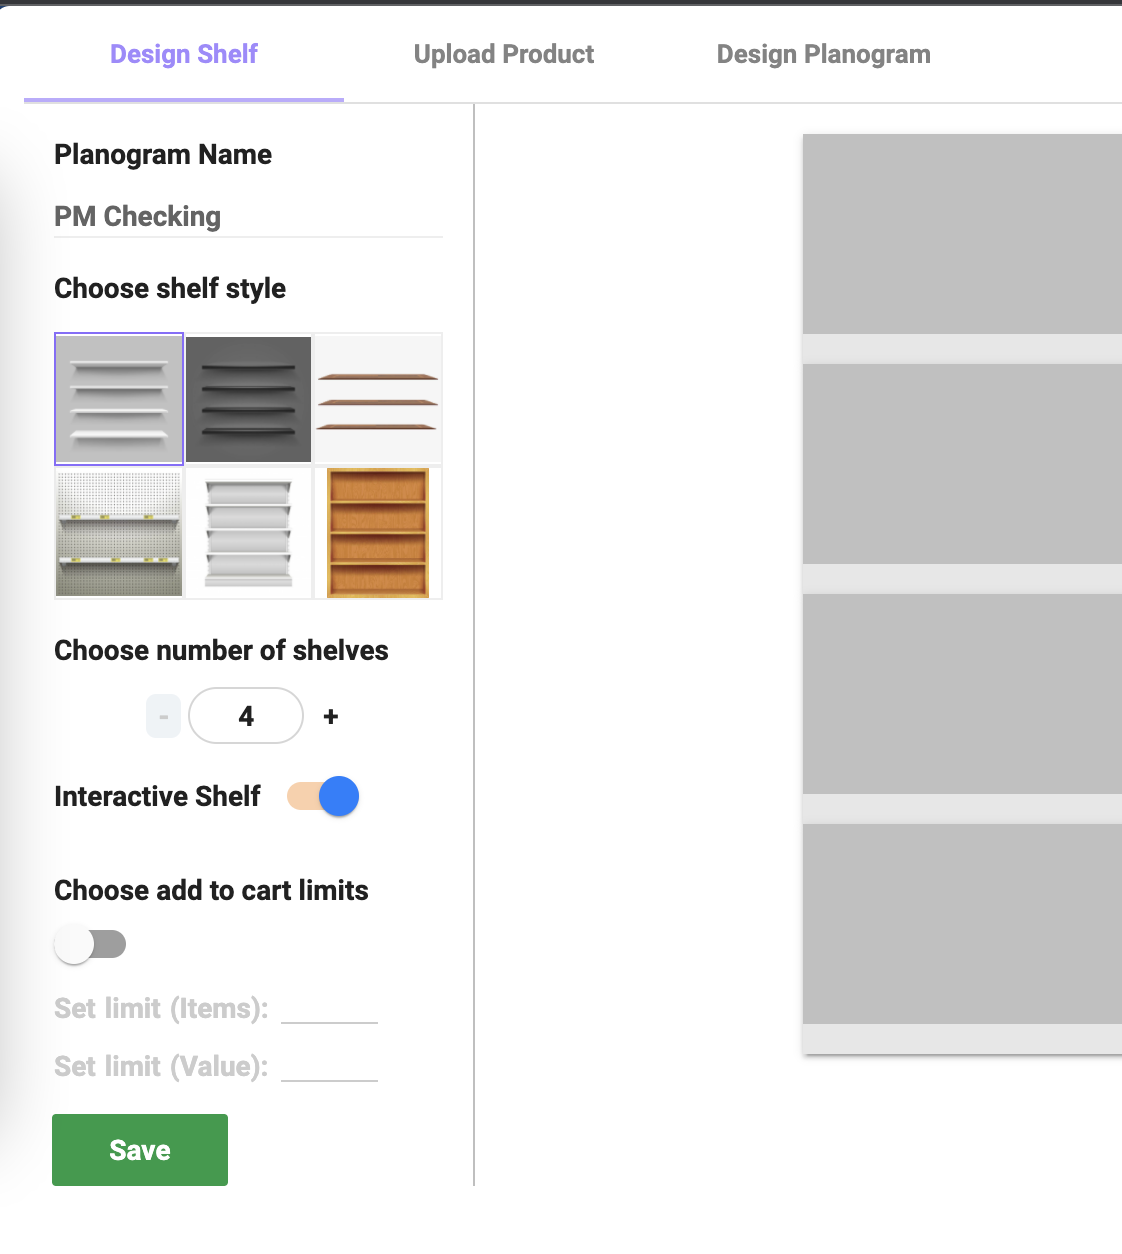
Note: Banner and Labels are available only for Interactive Shelf Stimuli and hence users have to Select/Enable Interactive Shelf as the Stimuli while creating the Shopper Campaigns. Once Interactive Shelf is selected, users will be able to view the Add Banner and Add Label Toggle switches.
Note: Users will have to click on save before the Add Banner and Add Label Toggle can be enabled!
When the user selects either Banner or Label, the Planogram on the right gets updated with the Banner/Label placeholder along with the dimensions.
After enabling Banner/Label, users need to go to the Design Label Tab to upload their custom-made Banner or Label. Please note that uploaded images need to be of the same dimensions as mentioned in the placeholder.
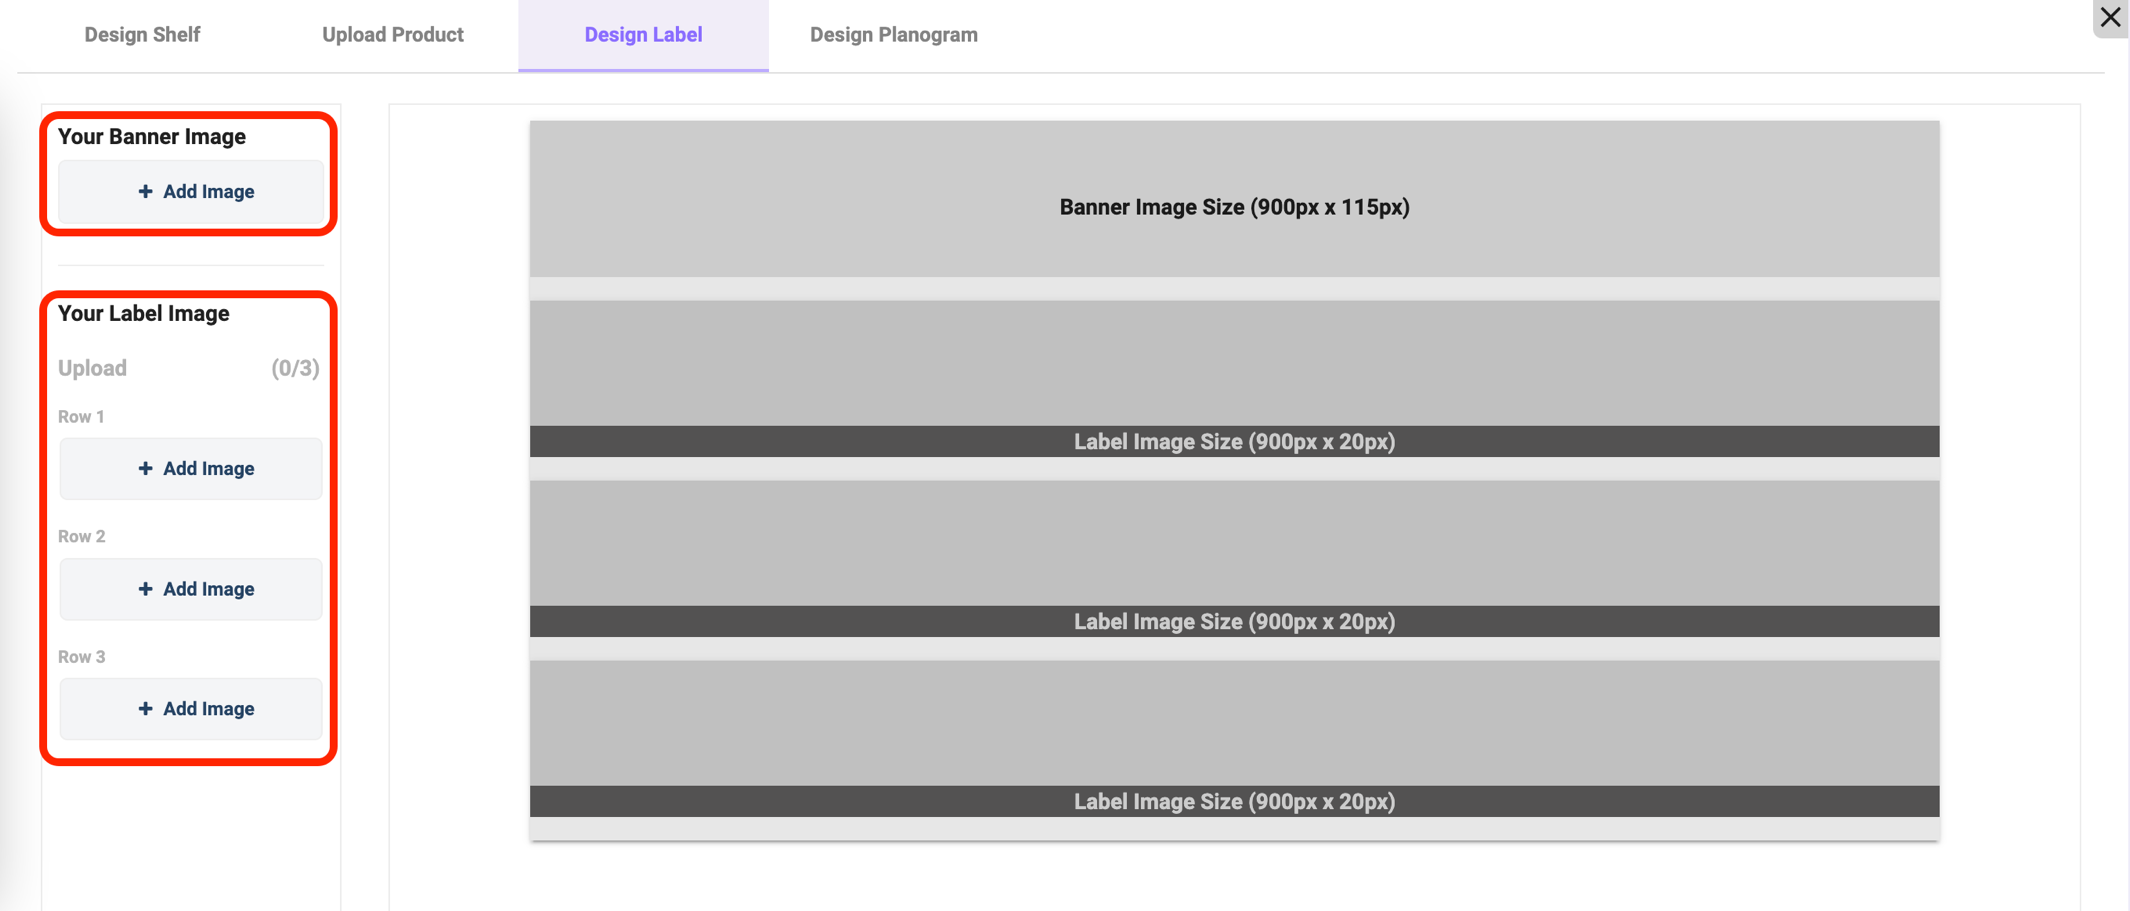
The uploaded image can be removed by clicking on the icon highlighted below.
Click on the Toggle to enable Choose Add to Cart Limit,
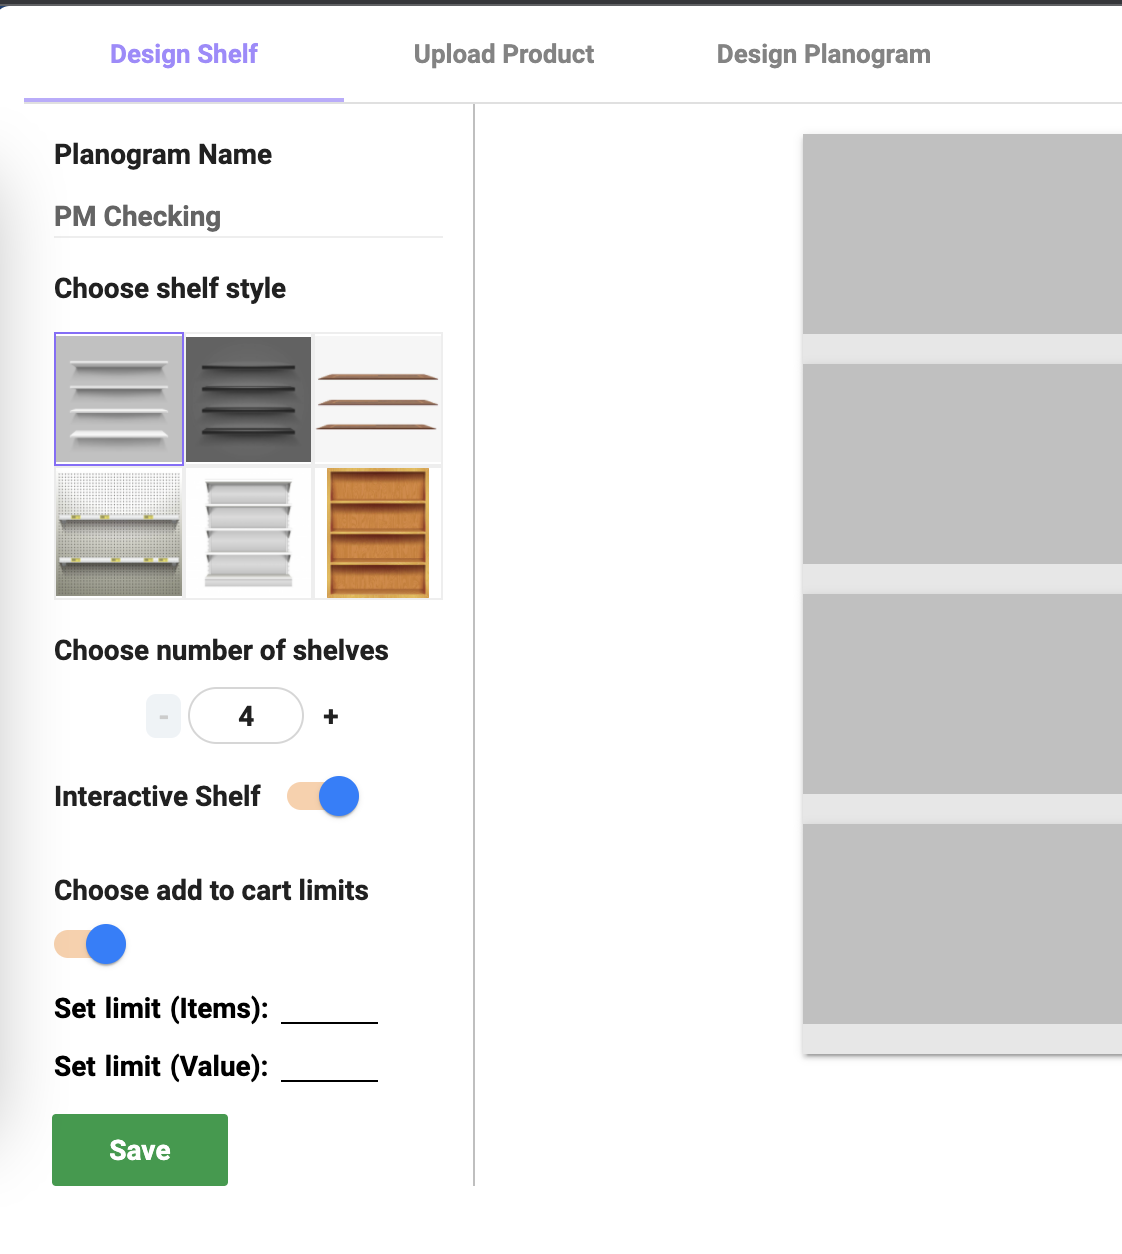
Under Choose Add to Cart Limits, users can set two types of limits,
- The total quantity of products - Total number of products that can be added to the cart
- The total value of the products - Total price of the products that can be added to the cart
- When the limit is set on the total value, then all products on the planogram should have a price associated with it
Both the limits are optional and either of them or both can be set. When both the limits are set whichever is reached first will limit testers from adding more products.
Set a limit on Individual Products
Users can also set limits on each individual product, i.e. the total quantity of any particular product that can be added to the cart. In order to set limits on each individual product, the product first has to be added to the shelf in the design planogram tab as shown below.

Limit on Individual products works in line with the overall limit on cart limit and whichever limit gets reached, the respondents are not able to add more on the set limit.