
What is Theme Customization?
Many times, users want to incorporate their Branding / Marketing elements into their campaigns. The Theme Customization section allows users to modify the look and feel of their campaigns.
Theme Customization is available in the Test Creation Section. By updating appropriate images and colour combinations, users can create a fully themed test in line with their branding and marketing needs.
How to customize test screens using Theme Customization?
Select Theme Customization in the Test Creation Palette.
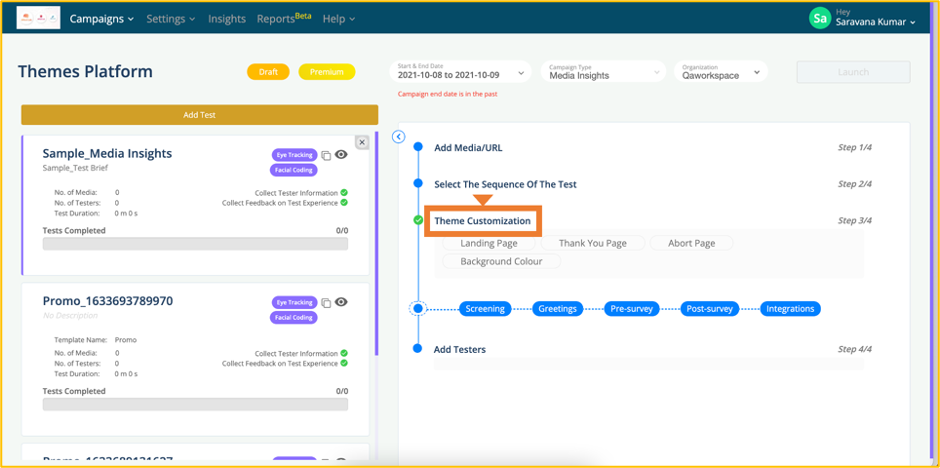
The Theme Customization section opens as shown below,
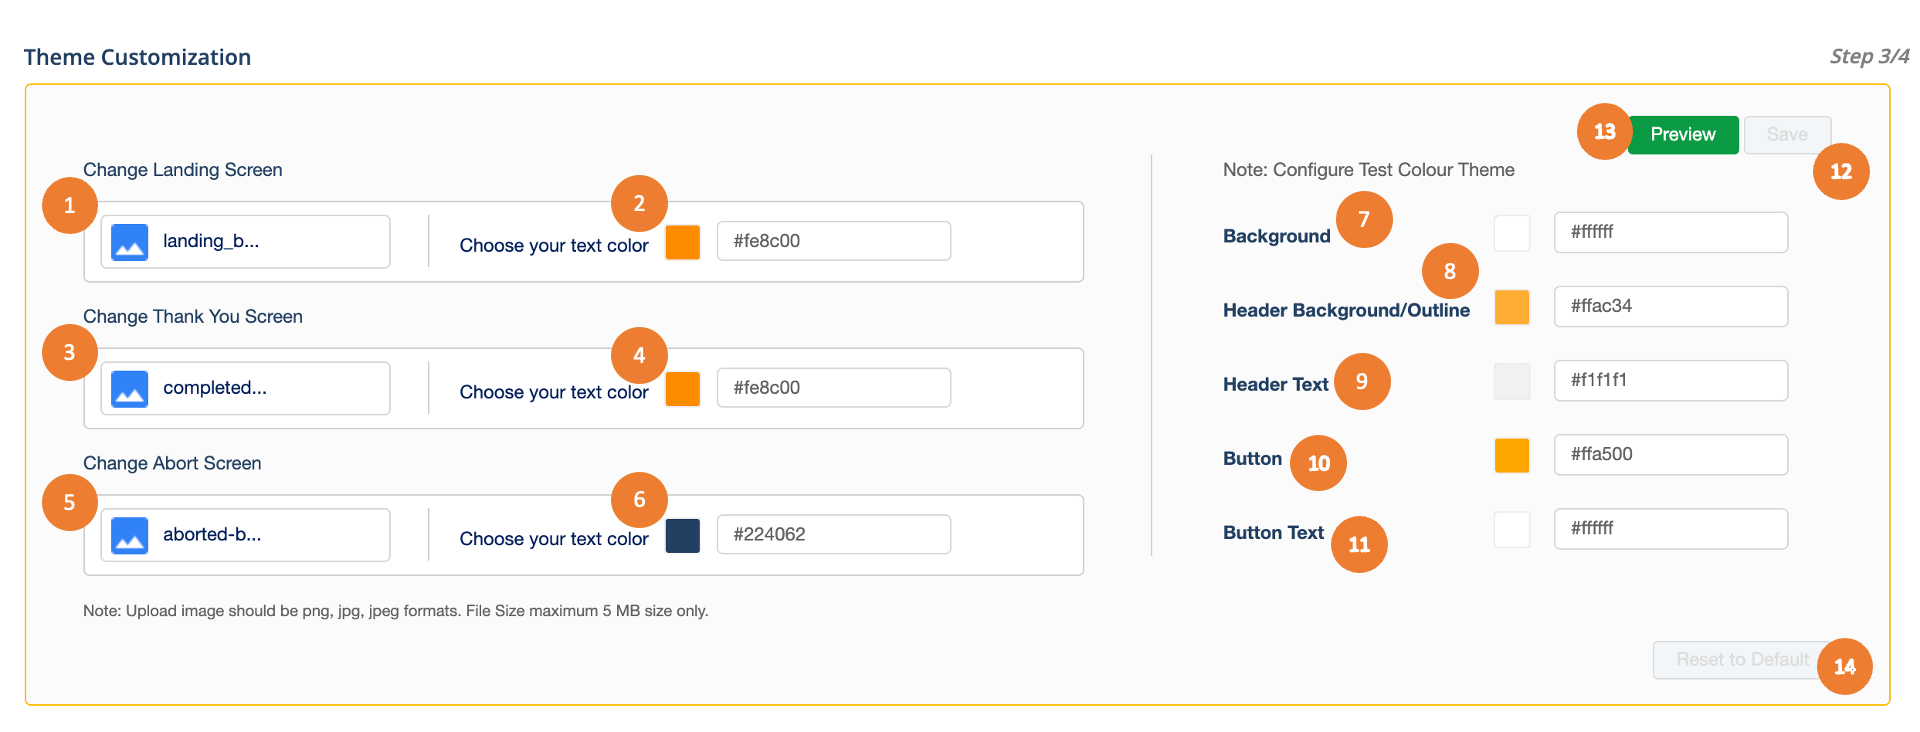
Below is the list of fields and their respective descriptions available in the Theme Customization section.
| S. No | Field | Description |
| 1 | Change Landing Screen | Click on the Image Icon to upload an image for the Test’s Landing/Starting page |
| 2 | Choose your text color | Users can select the color of the text displayed on the Landing/Starting page |
| 3 | Change Thank You Screen | Click on the Image Icon to upload an image for the Test’s Thank you page |
| 4 | Choose your text color | Users can select the color of the text displayed on the Thank you page |
| 5 | Change Abort Screen | Click on the Image Icon to upload an image for the Test’s Abort Screen page |
| 6 | Choose your text color | Users can select the color of the text displayed on the Thank you page |
| 7 | Background | Users can select the Background color of the test screens |
| 8 | Header Background/Outline | Users can select the Background color of Question headers (Screening, Pre-survey & Post-Survey) |
| 9 | Header Text | Users can select the Text-color of Headers |
| 10 | Button | Users can select the color of Buttons “Submit” |
| 11 | Button Text | Users can select the text color in Buttons |
12 – Save. The save button gets enabled when the user changes any of the fields in the Theme Customization section. Clicking on Save ensures the input values are captured.
13 – Reset to Default: The reset to Default button gets enabled when a user updates the fields in the Theme Customization section. By selecting Reset to Default, all lots are reset to the test default values.
14 – Preview: Users can preview the changes by selecting Preview. The preview window opens as shown below.
A preview of the Laptop and Mobile screen can be accessed as shown below.
The preview pop-up has four tabs (Landing Page, Thank You Page, Aborted Page & Colour theme).
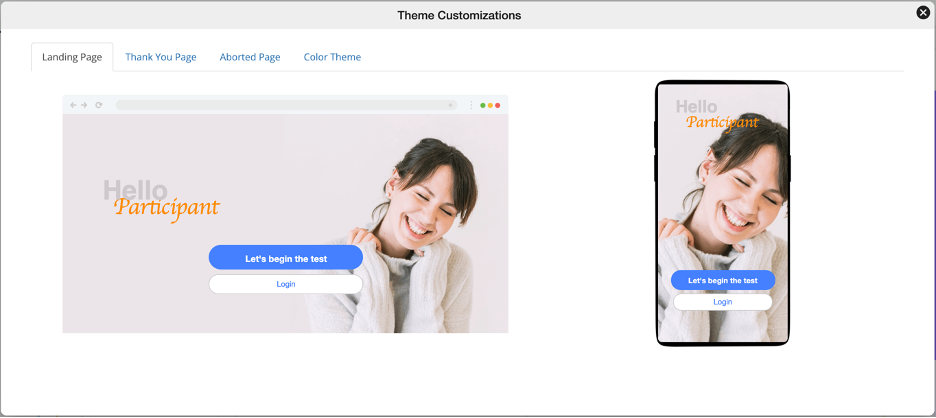
Landing Page: As shown in the Preview window, Users can change the Background Image and Text-color of the word “Participants”. “Let’s begin the test”, “Login” and “Hello” text cannot be customized and are always of the default value.
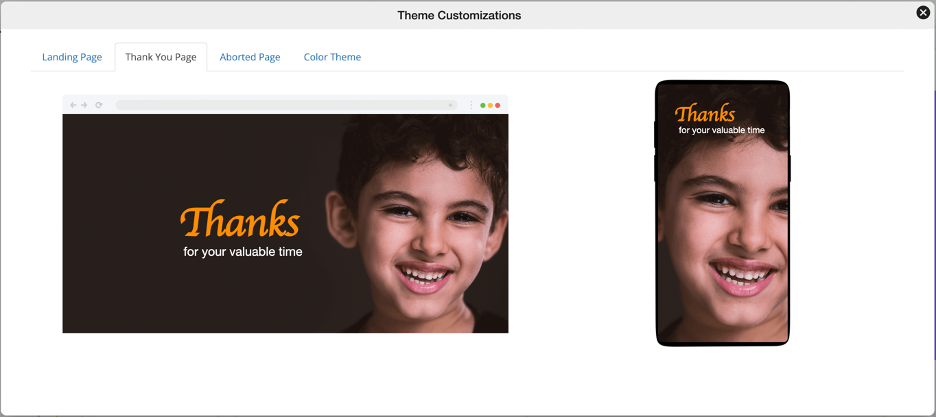
Thank You Page: Users can change the Background Image and Text-color of the word “Thanks”. “For your valuable time”, text cannot be customized and is always of the default value.
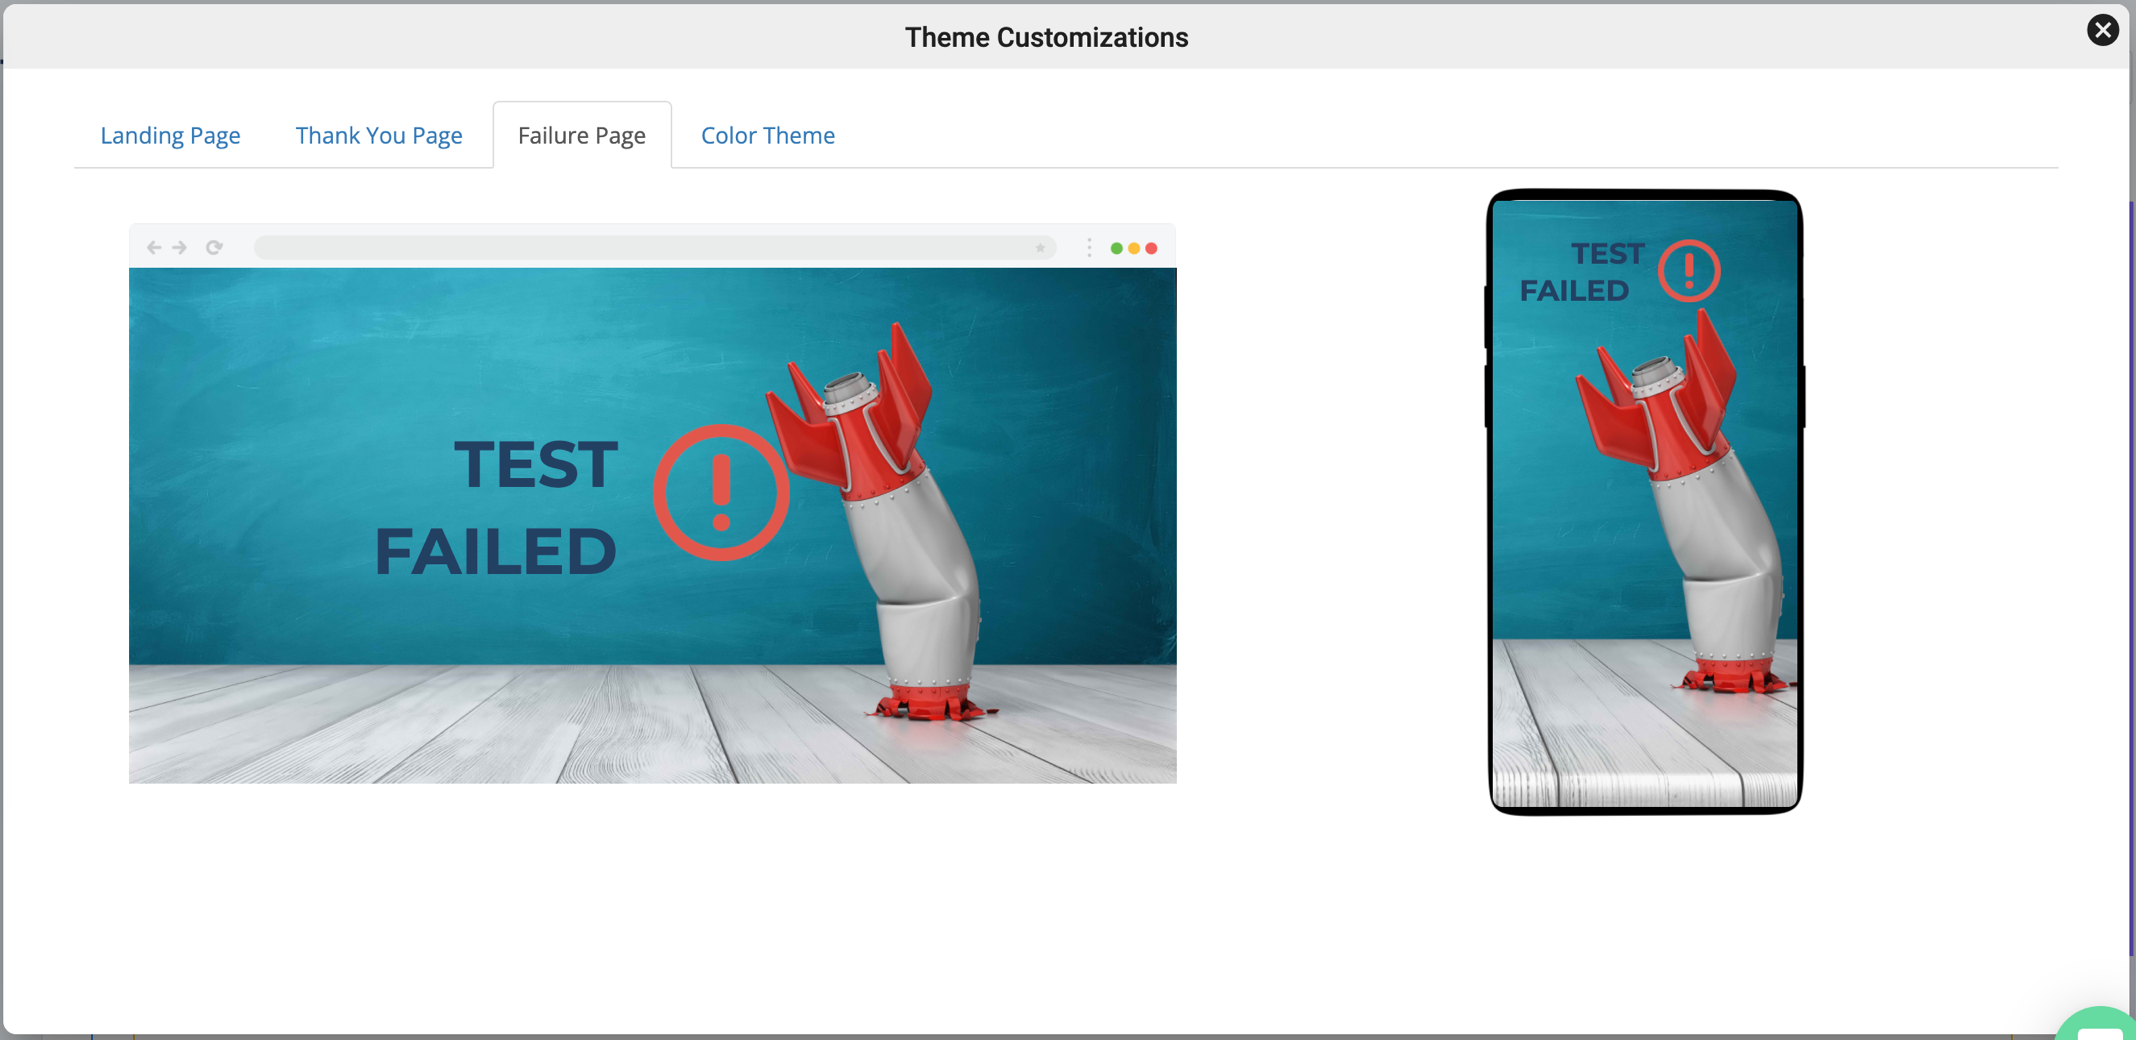
Failure Page: Users can change the Background Image and Text-color of the word “Test Failed”. The exclamation icon cannot be customized.
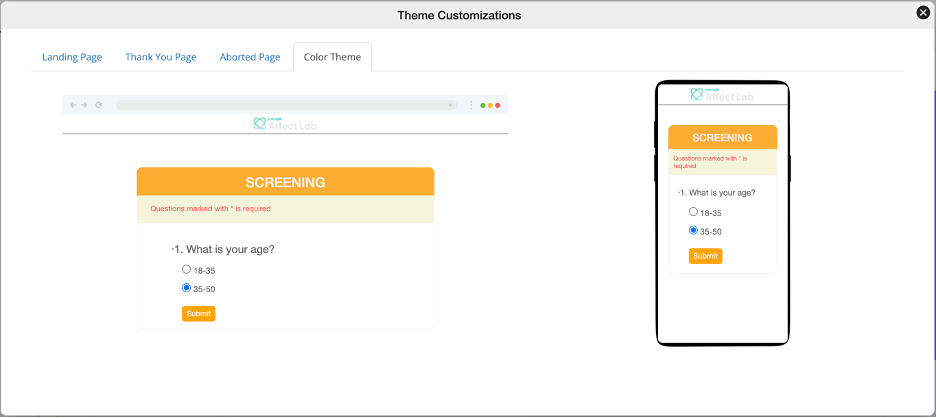
Colour Theme: Users can customize the Background, Header Color, Header Text Color, Button Color, and Button Text Color.